A contact form module and an Email Optin module are included in the Divi theme. While each has a specific function, there are times when you might wish to utilize the contact form as an email registration form or subscribe to individuals who send messages through it. If so, you could change the inline field arrangement to resemble an Optin form.
This article will show you “How To Create An Inline Divi Contact Form in Divi”.
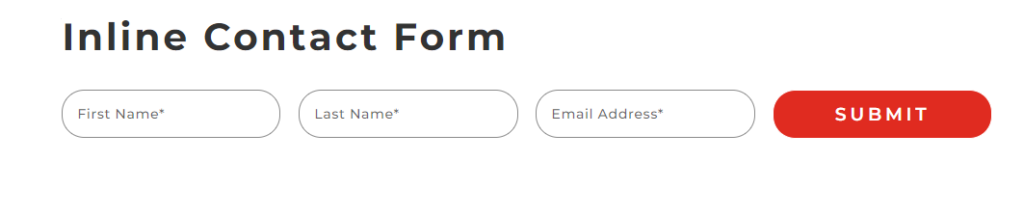
Results:
Adding and Modifying Contact Form:
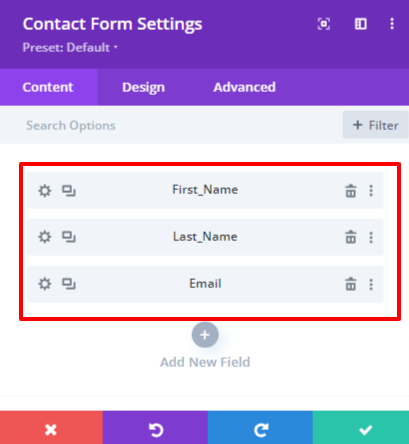
1) Adding and Adjusting Fields:
After adding the Contact Form go to Contact Form Settings and these Fields:
Go to Contact Form Settings > Field Settings > Design > Layout:
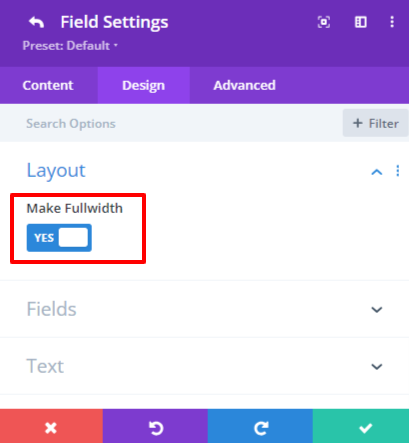
Now go to all the fields and change their Layout like I did.
2) Customizing Contact Form Fields:
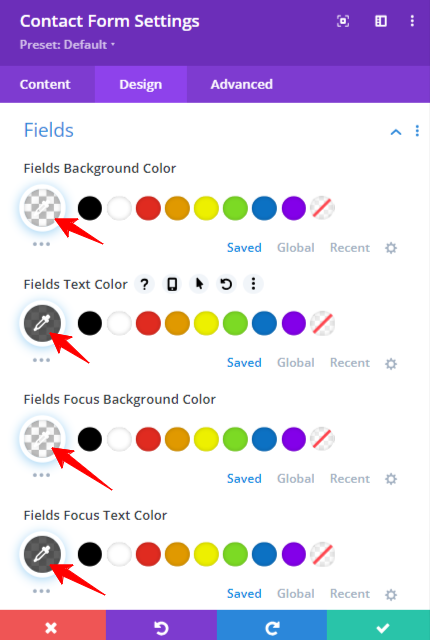
Go to Contact Form Settings > Design > Fields and do to following customizations:
- Fields Background Color: rgba(255,255,255,0)
- Fields Text Color: rgba(58,58,58,0.8)
- Fields Focus Background: rgba(255,255,255,0)
- Fields Focus Text Color: rgba(53,53,53,0.78)
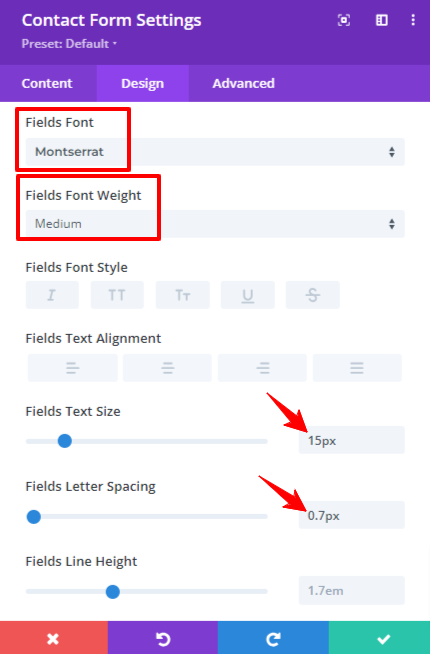
In the fields settings, scroll down to go to Font Settings and do the following settings:
- Fields Font: Montserrat
- Fields Font Weight: Medium
- Fields Text Size: 15px
- Fields Letter Spacing: 0.7px
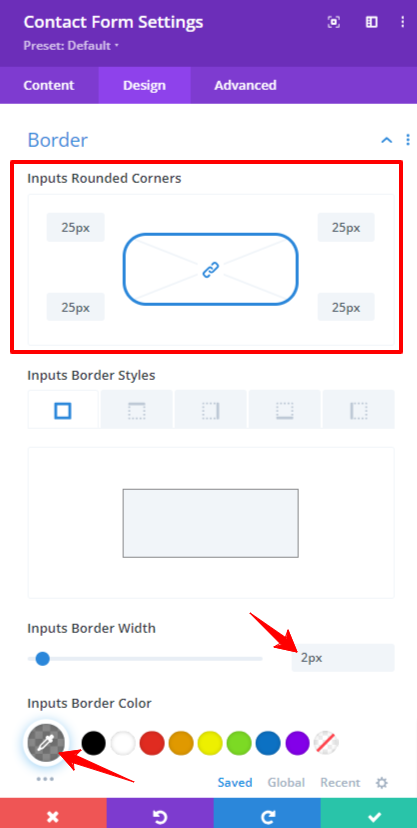
Now go to the Border Settings and do the following customizations:
- Input Rounded Corners: 25px
- Input Border Width: 2px
- Input Border Color: rgba(66,66,66,0.61)
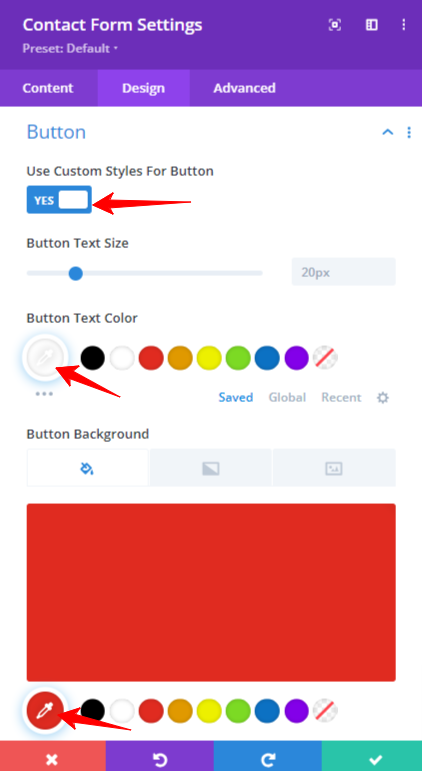
Now go to Contact Form Settings > Design > Button and do to following customizations:
- Use Custom Styles For Button: Yes(Enable)
- Button Text Color: #ffffff
- Button Background: #e02b20
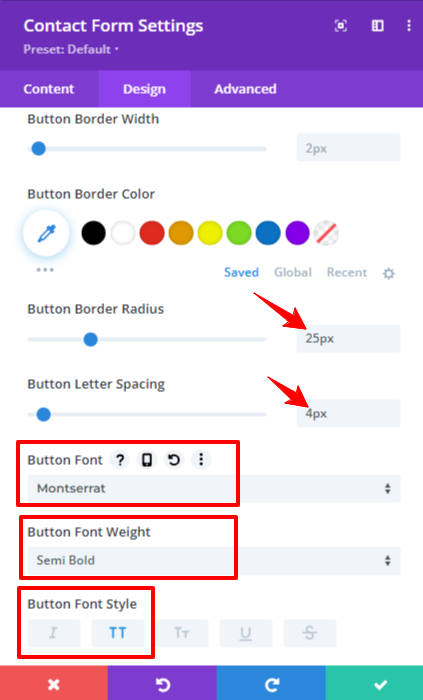
In the Button Settings, scroll further to Button Border Settings and do the following customizations:
- Button Border Color: rgba(255,255,255,0)
- Button Border Radius: 25px
- Button Letter Spacing: 4px
- Button Font: Montserrat
- Button Letter Spacing: Semi Bold
- Button Font Style: UpperCase
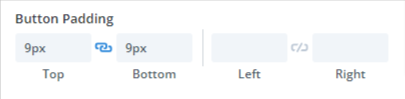
In the Button Settings, scroll further to Button Border Settings and add the following Padding:
- Top: 9px
- Bottom: 9px
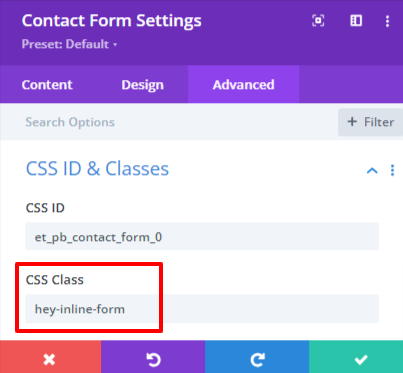
3) Adding the CSS Class:
Go to Contact Form Settings > Advanced > Custom ID & Class and add the following Class:
hey-inline-form
4) Adding Custom Code:
Go to Page Settings > Advanced > Custom CSS and add the following Code:
/* Flexbox Layout for Contact Form Container */
.hey-inline-form .et_pb_contact_form {
  display: flex; /* Utilizing flexbox for the contact form container */
}
/* Styling for Individual Contact Form Fields */
.hey-inline-form p.et_pb_contact_field {
  display: inline-block; /* Aligning each form field in a horizontal line */
  padding: 0;
  width: 30%; /* Setting the width for consistent spacing */
  margin-right: 20px; /* Adding margin between form fields */
}
/* Styling for the Container of the Submit Button */

.hey-inline-form .et_contact_bottom_container {
  display: inline-block; /* Ensuring inline-block for the container */
  width: 10%; /* Setting width for consistent alignment */
  margin-top: 0; /* Removing top margin for better positioning */
}
/* Styling for the Submit Button */
.hey-inline-form .et_contact_bottom_container .et_pb_contact_submit {
  margin: 0 0 0 0px !important; /* Adjusting margins for the submit button */
  width: 100%; /* Setting the width to fill the container */
}
Results that you were looking for:
Conclusion:
This tutorial is very useful if you don’t know How to Initiate the Contact Form in Divi. Conact Form Module is very flexible and useful is you know a little bit of coding you can do it very easily. All the code is very easy and flexible. you can use the code for inlining the Contact Form.